Most people's video collection is spread across half a dozen places: the Movies folder, Downloads, a desktop folder called new, two external drives and a card dump from the last trip. Every one of those files is named by a camera counter or by whatever website it came from.
When you need one clip, the search box on your computer is almost useless, and it is worth understanding why before fixing it.
Why your computer can't search inside videos
Spotlight on Mac and Windows Search look at text: the filename, the folder, the date, the file type and a handful of metadata fields. A video is a stream of pictures with no text describing them, so from the search index's point of view, a clip of a birthday party and a clip of a car park are identical except for their names.
The Photos apps on both platforms can do better, but only for media you have imported into their own library. Files sitting in ordinary folders, on an external drive or on a work project disk are outside that library — which, for anyone who edits, records or downloads video, is most of it.
| Tool | Can search | Can't search |
|---|---|---|
| Spotlight / Windows Search | Filenames, dates, file type, some metadata | Anything visible in the video |
| Photos app libraries | Media imported into that app's library | Ordinary folders, external drives, project folders |
| Renaming and tagging by hand | Whatever you remembered to write down | Everything you didn't predict you'd need — and nobody keeps it up |
| A local visual search tool | The frames of every video in the folders you add, plus photos | Videos you haven't added, or that only exist online |
The fix: index the pictures, not the filenames
A visual search tool watches your videos for you once, frame by frame, and remembers what each moment looks like. After that you can search by describing a scene in plain English, and it returns the moments that match — with the timestamp inside the file.
Here is how to set it up with Vision Search, which runs on both Mac and Windows and keeps everything on your own computer.
Step 1: Make a list of where your videos actually are
Spend two minutes on this. The usual places:
- Movies / Videos — the default save location for many apps
- Downloads — where saved clips, course videos and received files quietly pile up
- Desktop and any "sort later" folders
- External drives — archive drives, camera card dumps, old laptops' backups
- Project folders — B-roll, raw footage, screen recordings for work
You don't need to tidy anything. The whole point is that the mess stops mattering.
Step 2: Add the folders
Click Add media and choose Add a folder. Every subfolder inside it is scanned for videos and images, so adding a top-level folder like your Movies folder or the root of an external drive covers everything below it. If you only want a few specific files, use Choose files instead.
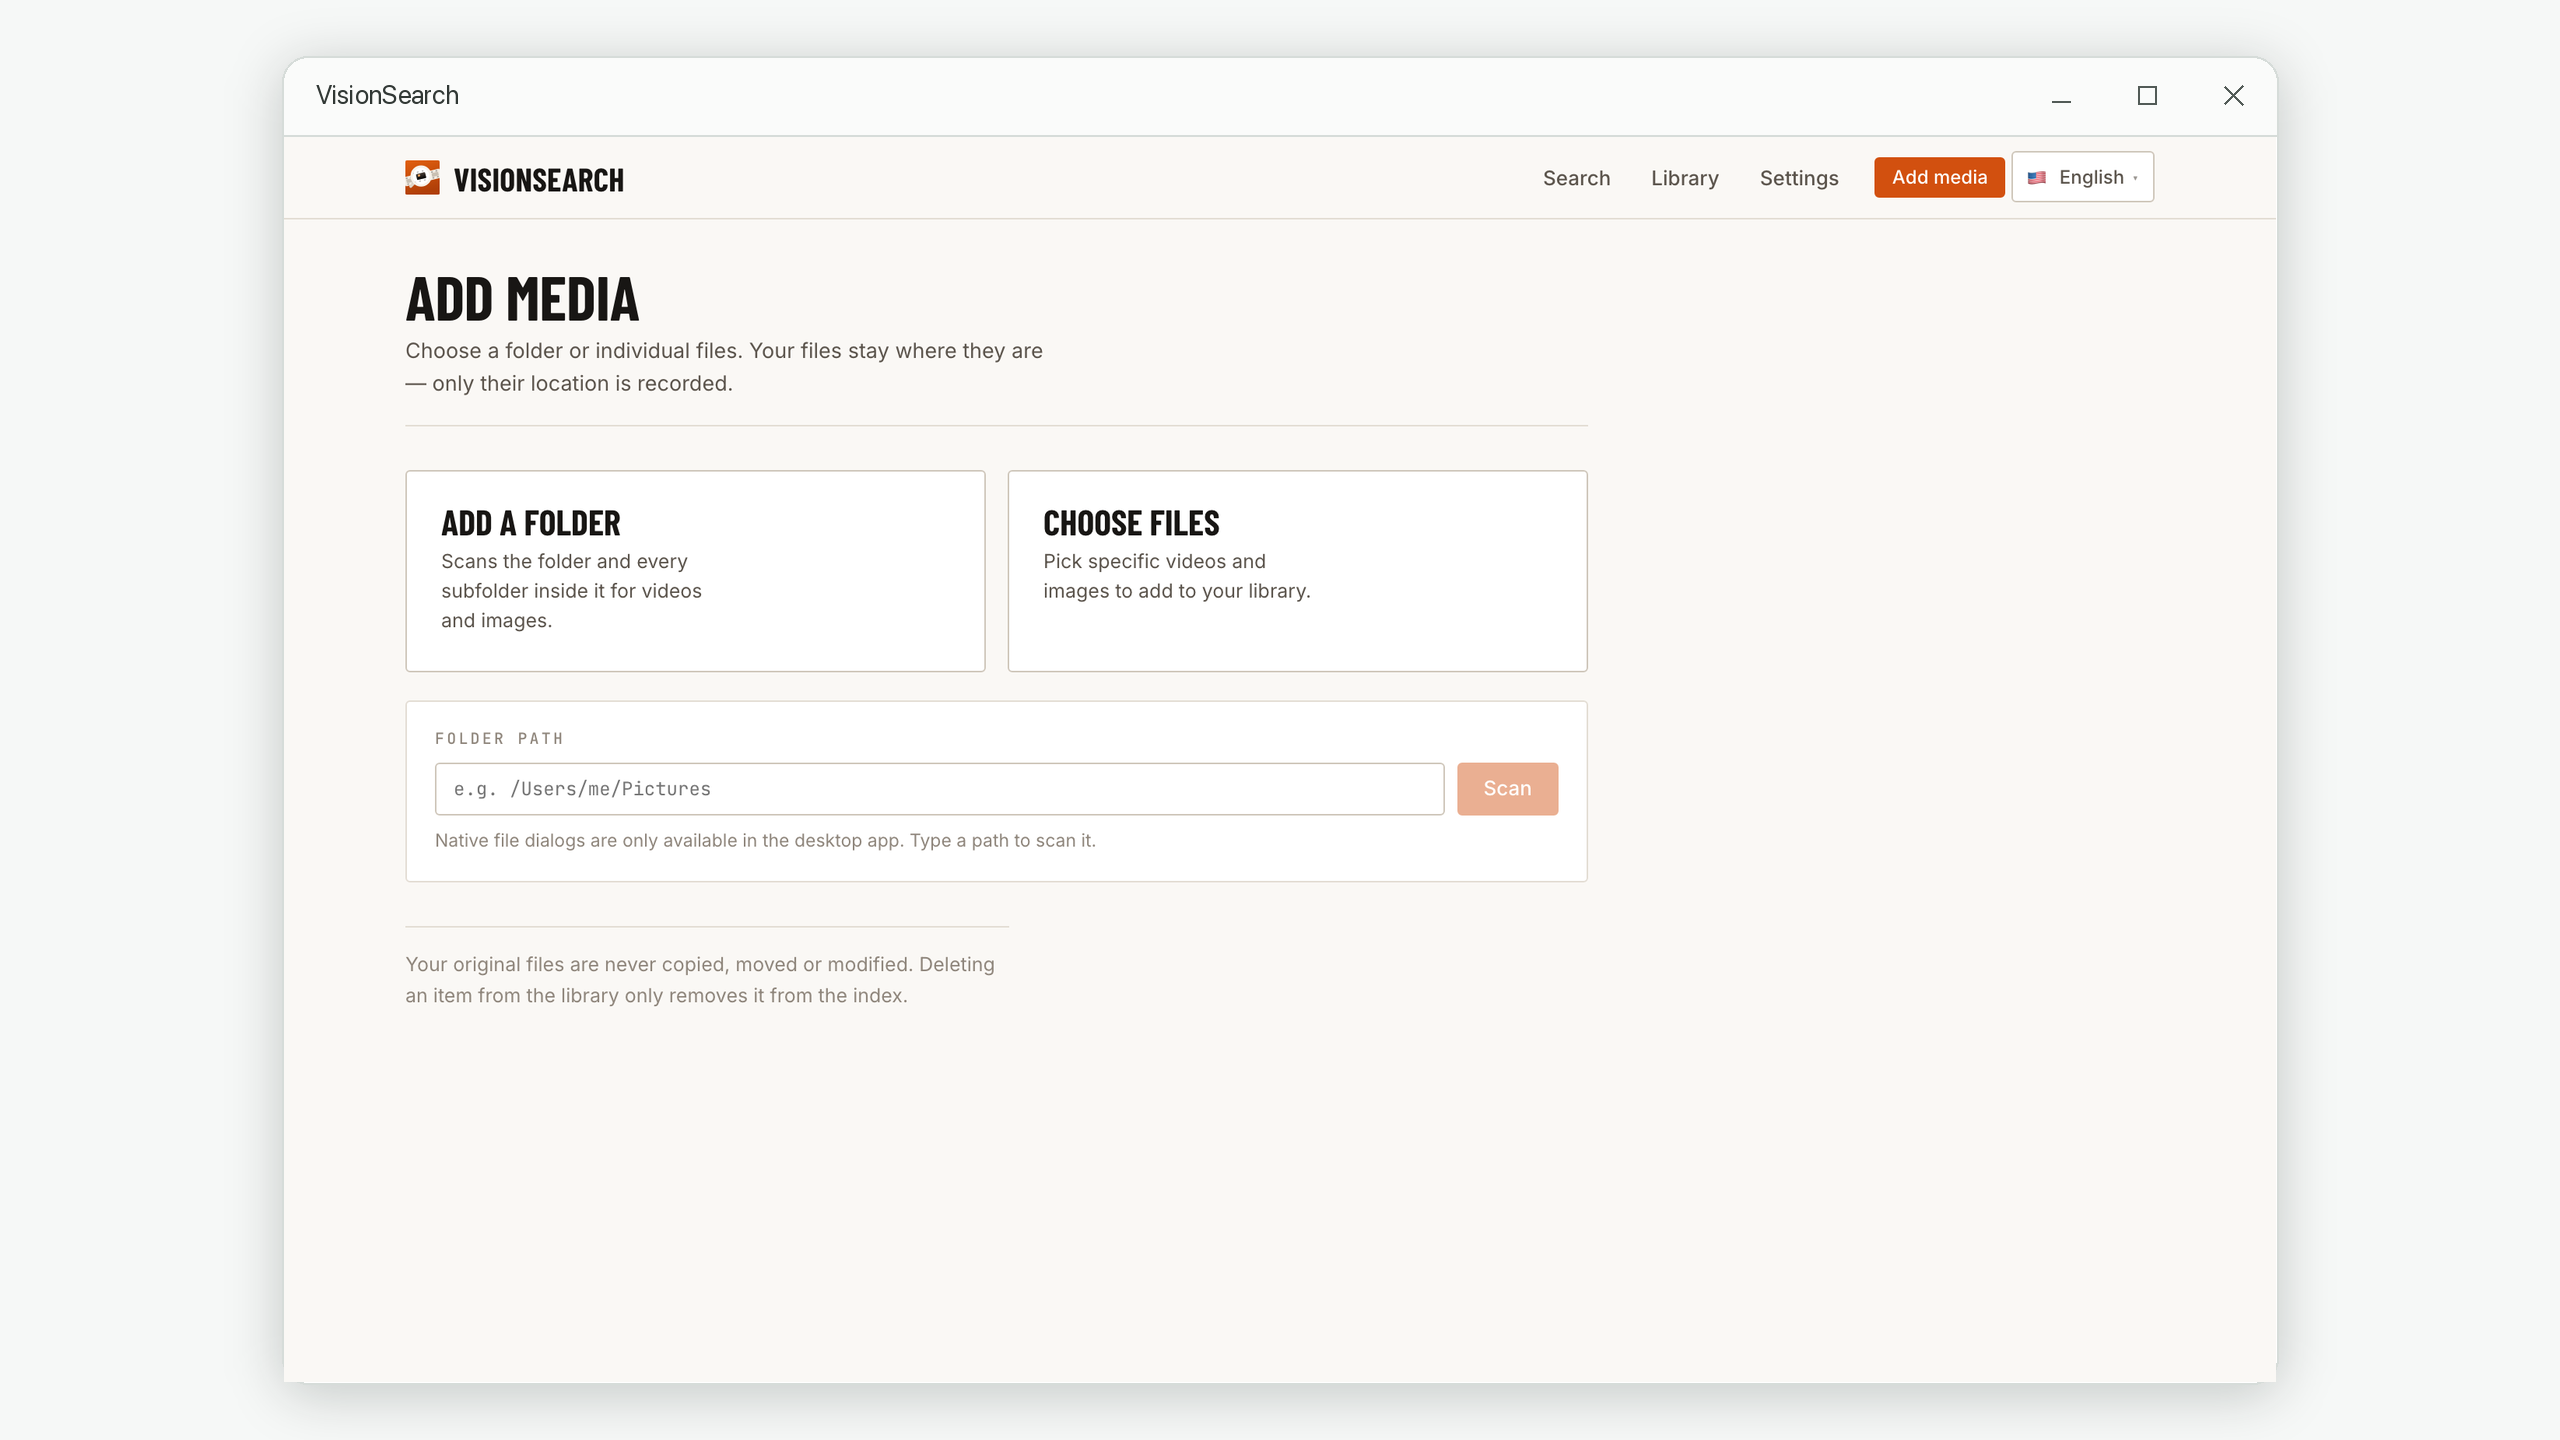
This is different from importing into a photo library. Nothing is copied into the app and nothing is renamed or reorganised. Removing an item from Vision Search only removes it from the search index; the video on your disk is untouched.
Common formats are supported: MP4, MOV, AVI, MKV, WEBM and M4V for video, plus JPG, PNG, GIF, BMP, WEBP, iPhone HEIC and camera RAW files for photos, so a folder of mixed card dumps works as-is.
Step 3: Let it index — once
Each video is analysed in the background. Near-identical frames are skipped, so a ten-minute shot of the same room does not produce six hundred copies of the same result. Speed depends on your computer and how much footage you have; for a large archive, leaving it running overnight is the easy option. You can pause indexing when you need the computer's full attention and resume later.
This is a one-time cost per file. Searching afterwards takes well under a second, however many hours of video are in the index. Whatever has already been indexed is searchable while the rest is still being processed.
Step 4: Search by describing what you saw
Type a description of the moment you want, the way you would describe it to another person:
| If you're looking for… | Try typing |
|---|---|
| A shot from a holiday video | people walking on a white sand beach |
| B-roll for an edit | aerial view of a city at night · close-up of hands typing on a keyboard |
| A moment in a family video | a child blowing out birthday candles |
| A part of a screen recording | a spreadsheet with a bar chart · a login page |
| Something in security footage | a white van parked on the street |
Video results show the timestamp and where it sits in the file. Play from this moment opens the video right there, and Source shows you where the original file lives on disk.

Step 5: When words fail, search with a picture
Some things are hard to describe: a particular colour grade, a specific set, a pattern. Choose Use an image and give it an example — a screenshot, a photo, a frame exported from an edit — and it returns the visually closest moments across every indexed video. This is especially useful for finding the full-length original of a short clip or thumbnail you have lying around.
Tips that make it work better
- Describe what a camera would see. Clothing, objects, places, weather, actions. "My sister" or "the funny part" aren't visible; "a woman in a green coat laughing on a bench" is.
- Write in English. The search understands English descriptions most accurately, even if the app itself is set to another language.
- Add one detail at a time. Start with
a dog, thena dog jumping into a lake. Each detail pushes the right moment higher. - Read the order, not the score. Match percentages of 25–35% are normal for correct results. The ranking is what matters.
- Use the filter. If you know it's a video, switch from All to Video so photos don't compete for the top spots.
The Windows version has an optional People feature, off until you turn it on. It groups faces that keep appearing across your photos and videos; name a group once, and typing that name into the search box brings up their photos first. Like everything else, it runs entirely on your computer. The Mac version does not include it yet.
What about privacy?
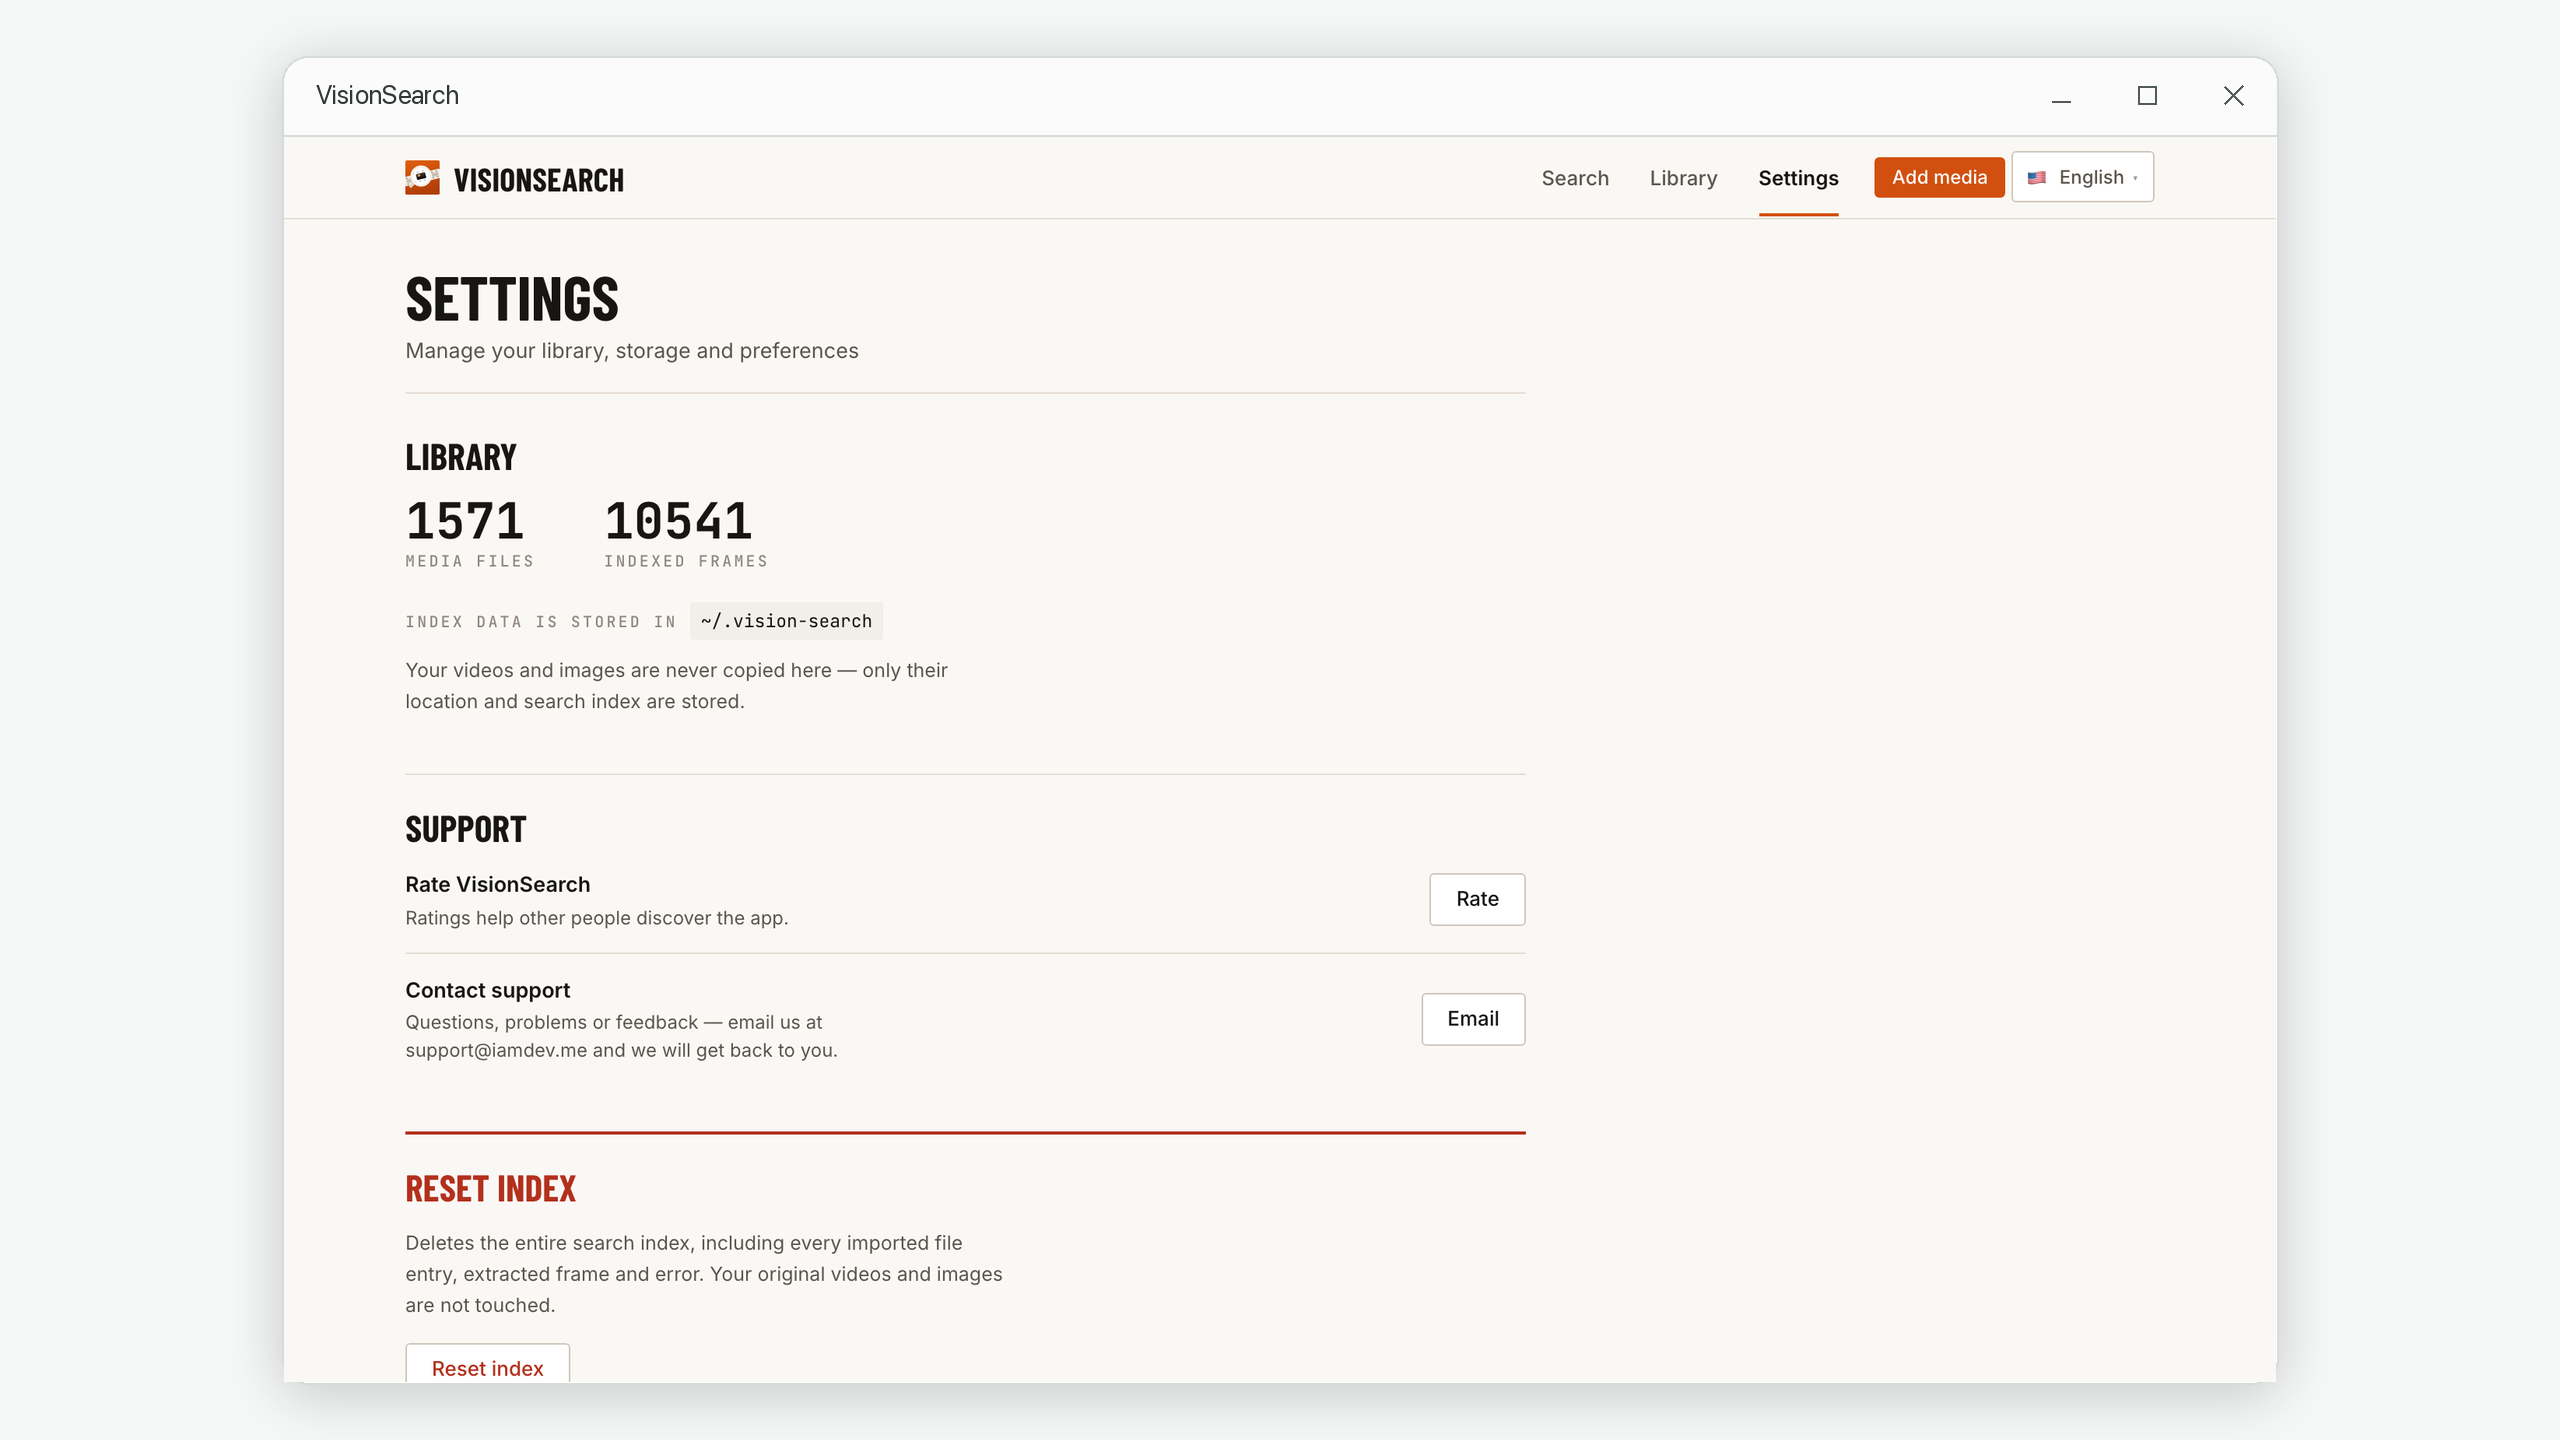
The videos people most need to search are exactly the ones they would least like to upload: family footage, client work, recordings of their home. Vision Search does all its analysis locally — no upload, no account, and after installation it works with no internet connection at all. The only thing it writes to disk is its own index, stored in a single folder you can reset at any time without touching your videos.
Frequently asked questions
Can Spotlight or Windows Search find a video by what's in it?
No. Both search filenames, dates and some metadata. They never look at the frames, so a search only works if the words you type happen to be in the filename.
Can I search videos on an external drive?
Yes — add the folder on the drive like any other. Keep the drive connected while its videos are being indexed and when you want to open a result, since the originals stay on the drive.
Will it slow down my computer?
Indexing uses processing power while it runs, which is why it happens in the background and can be paused. Once the files are indexed, searching is light and instant.
What happens if I move or delete a video later?
The index points to where the file was, so a moved or deleted file can no longer be opened from the results. Removing it from the library clears it from the index; adding the new folder picks it up again.
Make the videos you already own searchable
Add your folders once, and from then on find any scene by describing it — on your own computer, with your files left exactly where they are.
macOS 14.6 or later · Windows 10 and 11. No account required.